This roasted potatoes with garlic and thyme recipe is everything a potato lover could ask for. Imagine biting into a piece that is crisp on the outside and beautifully fluffy inside.
A touch of thyme and a hint of garlic come together to elevate this simple yet delightful dish, making it a must-have at any dinner table.
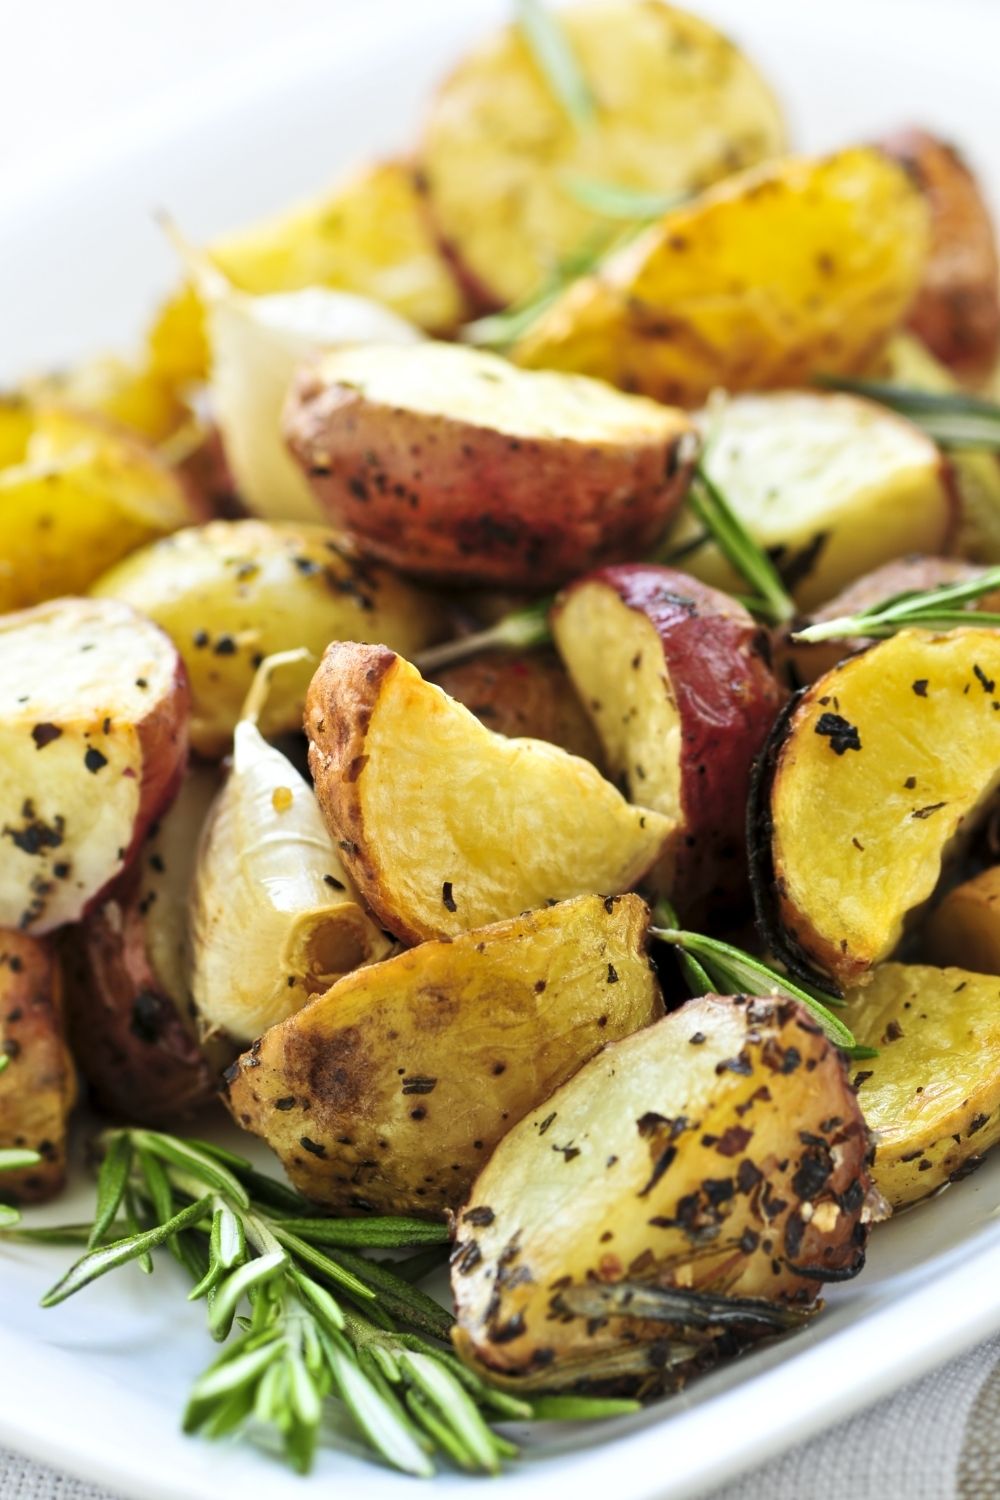
But the magic doesn't stop at dinner. These roasted potatoes can easily find their place gracing your holiday spread, promising a comforting and familiar joy with every bite.
Easy to prepare and even easier to enjoy, this recipe is set to become a favorite.
Convinced? Keep reading to discover how to bring this easy side dish to life.
Jump to:
- Why I like this recipe:
- Is roasting the same as baking?
- Best potatoes to use:
- To peel or not to peel potatoes before roasting?
- How to achieve a perfect crisp:
- How to roast potatoes:
- Expert tip:
- Leftovers storage:
- How to serve them:
- Recipe faqs:
- Interested in more potato recipes?
- More side dishes to love:
- 📖 Recipe
- 💬 Comments
Why I like this recipe:
- Easy to Make: With a straightforward process and everyday ingredients, this recipe is a breeze even for beginners. The preparation takes just a few minutes before the oven does most of the work for you.
- Versatility with Spices and Herbs: The base recipe is just the beginning. Feel free to get creative with a variety of herbs and spices. Whether you're a fan of rosemary, prefer a kick of cayenne pepper, or love a sprinkle of Parmesan, there's room to make this dish your own.
- Great for All Occasions: Whether it's a regular dinner, a holiday feast, or a relaxed brunch (and call them breakfast potatoes), these roasted potatoes fit right in, complementing a wide array of main dishes beautifully.
Is roasting the same as baking?
Before we dive into the recipe, let's clarify that we are roasting the potatoes, not baking them.
While both methods are quite similar, roasting is done at a higher temperature to achieve a crispy exterior and a fluffy interior, which is exactly what we want for this recipe.
Best potatoes to use:
When it comes to choosing the best potatoes for roasting, it is all about your preference and the texture you are aiming for.
Russet potatoes are starchy and can get crispy on the outside while remaining fluffy and light on the inside.
Yukon Gold potatoes have a buttery texture and a slightly waxy feel, holding their shape well during roasting.
Red potatoes add a nice visual touch to the dish and offer a firm bite and a slightly sweet flavor. Finally, white potatoes have a more delicate flavor and a creamy interior when roasted.
Remember, smaller potatoes or baby varieties of the above options can also be used, especially if you prefer a quicker roasting time with a more tender result. Crispy roasted baby potatoes are so good!
To peel or not to peel potatoes before roasting?
Well, it truly depends on your personal preference and the type of potatoes you are using.
Peeling the Potatoes: If you prefer a smoother texture, peeling them is the way to go. It ensures an even crispiness and allows the spices to penetrate more deeply into the potatoes.
Not Peeling the Potatoes: Keeping the skin adds a rustic touch but also brings a wonderful texture contrast in every bite. Also, the skin contains nutrients and gives a nice crunch. If you opt for this route, especially when using organic potatoes, make sure to clean the skins well to remove any dirt or impurities.
Personally, I love the added texture and flavor that the skin brings to the dish, but try both ways and see which one you prefer.
How to achieve a perfect crisp:
There is a popular technique that requires the potatoes to be parboiled before roasting them to ensure that they get crispy.
We are not going to do this today as we want an easier recipe that everyone can put together.
However, we all love crispy potatoes, so how do we do it? After roasting them for a while, we have to flip them. There are two ways to do it:
- Flipping halfway through roasting: This approach generally helps ensure more crispiness on all sides of the potatoes. It helps in even cooking and avoids the scenario where one side is crispier than the other.
- Flipping them after 75% of the roasting time has passed: Waiting longer to flip the potatoes can indeed allow one side to become very crispy. It gives the potatoes a kind of "deep crust," with one side being very crispy and the other side being less so.
How to roast potatoes:
Preheat the oven to 400F. Brush and clean your potatoes.
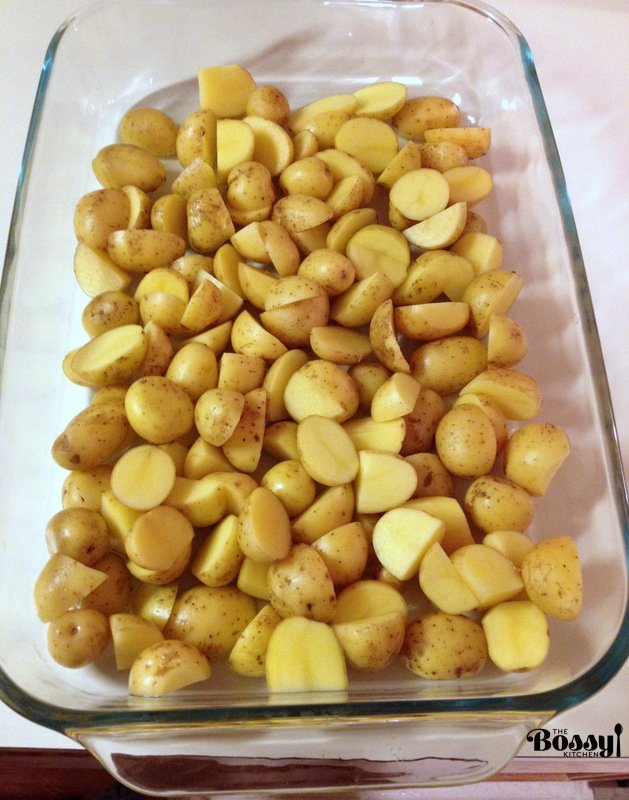
Cut them into small bite-size if they are larger. Aim for 1 inch bite size. If you use the small, new ones, let them be the size they are.
Spread the potatoes on a baking tray in one layer and toss them with oil, salt, pepper, thyme, and garlic powder.
Optional: For easy cleanup, you might choose to line your baking tray with parchment paper. It prevents the potatoes from sticking to the tray, ensuring each piece comes out perfectly. I didn’t use it in my photos, but it’s a handy trick I often use.
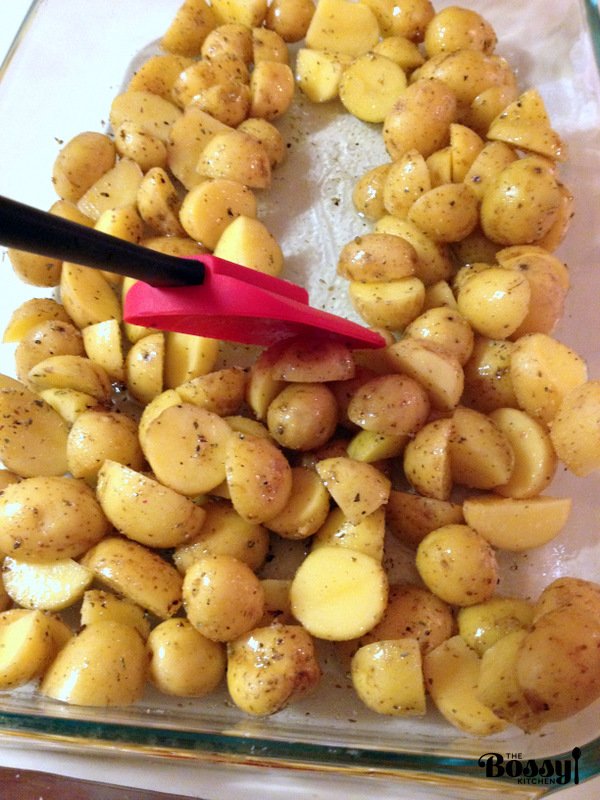
Bake them at 400F for 30 minutes or until they roast and get crispy.
Expert tip:
When roasting your potatoes at 400°F (200°C), a good starting point is to set your timer for 30-35 minutes. This should give them a nice, crispy exterior and a soft, fluffy interior.
However, the perfect roasting time can vary based on the size of your potato pieces and individual oven temperatures. It is always a good practice to check on them at the 30-minute mark.
If they haven't achieved that golden crispiness you desire, feel free to keep them in for another 5-10 minutes, checking regularly to avoid burning.
Leftovers storage:
Transfer the cooled-down potatoes into an airtight container or a resealable plastic bag and store them in the refrigerator for up to 3-5 days.
When you're ready to enjoy your leftovers, you have a couple of great reheating options:
Oven: Preheat the oven to 400F(200C). Spread the potatoes on a baking sheet and reheat them for 15-20 minutes or until they are heated through and crispy again.
Air fryer: If you have an air fryer, you can reheat the potatoes at 400°F (200°C) for about 10-15 minutes, checking periodically to ensure they reach your desired level of crispiness.
Stovetop: For a quick option, you can reheat the potatoes in a non-stick skillet over medium heat, stirring occasionally, until they're heated through and regain some of their crispiness, which usually takes about 7-10 minutes.
Note: Microwaving is the quickest option, but won't retain the crispiness. It's best used when you're in a hurry and willing to sacrifice texture for speed.
How to serve them:
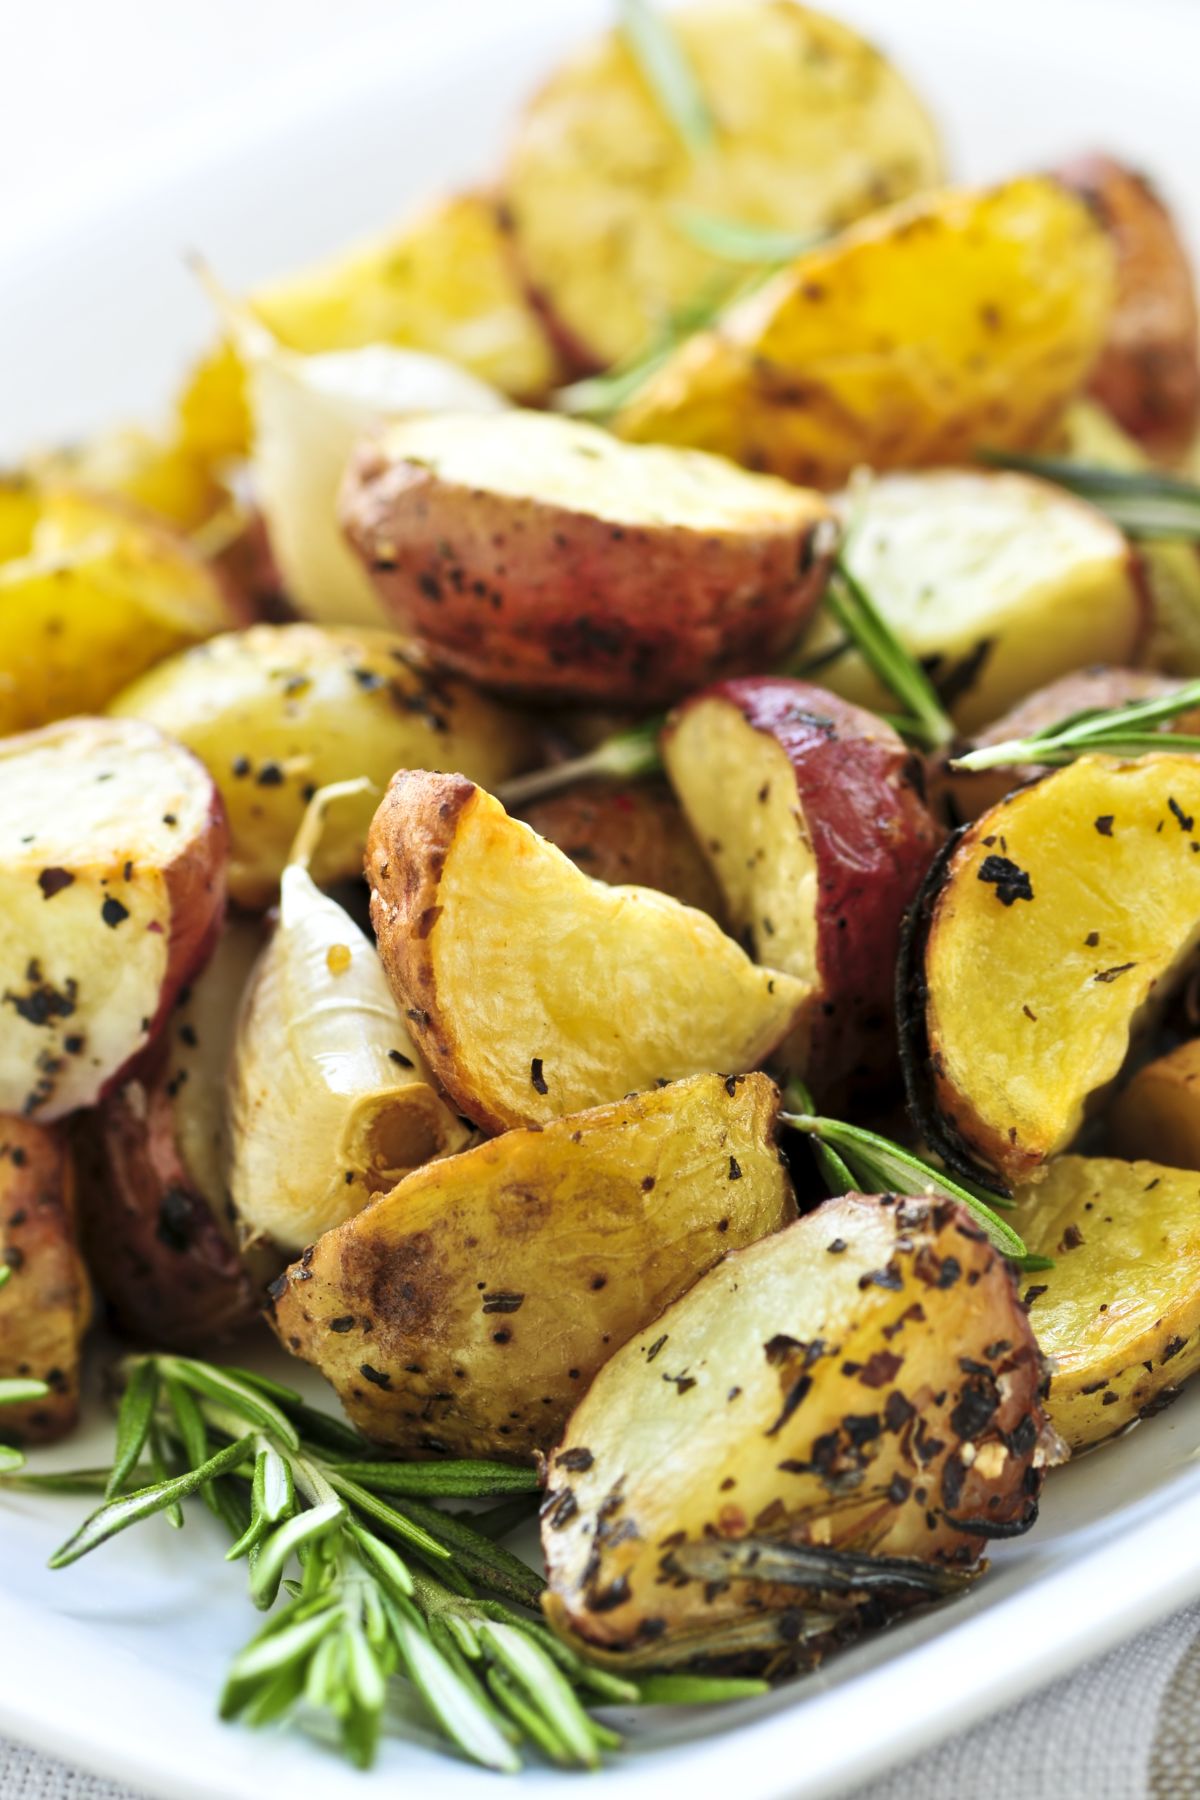
Serve them warm for breakfast with eggs and bacon, for lunch or dinner with your favorite meat and a salad.
This is a great option instead of the regular mashed potatoes during the holidays.
Enjoy! They are delicious and easy to make, so easy that you do not have any excuse not to!
Recipe faqs:
Absolutely! You can elevate your roasted potatoes with a mixture of herbs such as rosemary, oregano, marjoram, or dill. For a spicy kick, add a dash of cayenne or red pepper flakes.
You might also consider a sprinkling of finely chopped fresh herbs such as parsley, chives, or scallions just before serving to add a burst of fresh flavor.
And for an aromatic touch, try adding spices like turmeric, curry powder, or a hint of nutmeg to impart a warm, nuanced flavor to your dish.
Yes, but keep in mind that sweet potatoes have a different texture and a naturally sweeter flavor compared to regular potatoes.
They may require a slightly shorter cooking time due to their softer texture. Start checking them around the 25-minute mark to prevent them from getting too soft. Crispy roasted sweet potatoes are delicious!
You can take your potatoes to the grill for a wonderful smoky flavor. Prepare them as instructed in the recipe, but instead of placing them in the oven, lay them out on a grill tray or in a grill basket.
Preheat your grill to a medium-high setting, approximately 400°F to 425°F. Grill the potatoes for about 15-20 minutes, turning them halfway through to ensure even cooking.
Keep a close eye on them, as cooking times can vary, and do the fork test to check their doneness.
Interested in more potato recipes?
If you find yourself falling in love with this roasted potatoes recipe, the following recipes are for you.
- Roasted Potatoes With Green Garlic And Dill, a fresh take on the classic roast.
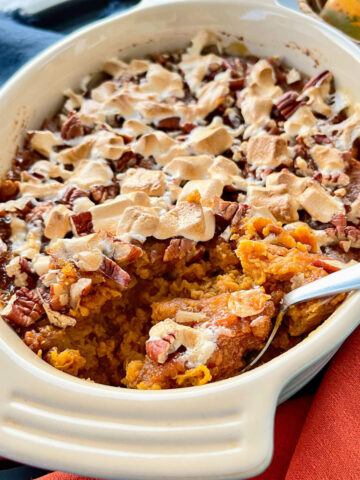
- Cinnamon Roasted Sweet Potatoes- Switch things up these holidays and make this recipe instead, a savory alternative to the sweet potato casserole.
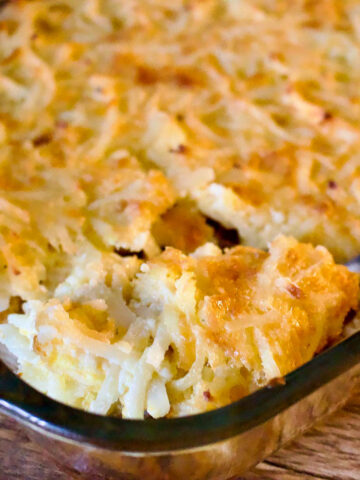
- Cheesy Potatoes: Indulgent and rich, these potatoes are the best comfort food, with cheese enhancing the creamy interior of the well-roasted potatoes.
- Easy Recipes with Potatoes: A curated list of hassle-free recipes to make your everyday meals delightful and hearty.
- Best Potato Salad: A potato salad that is both creamy and crunchy, perfect for picnics or as a side for your BBQ parties.
More side dishes to love:
📖 Recipe
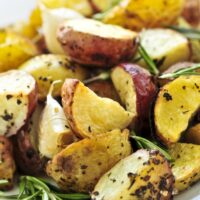
Roasted Potatoes with Garlic and Thyme
Ingredients
- 2 pounds red or white potatoes
- 1 teaspoon salt
- ½ teaspoon dried thyme
- ½ teaspoon garlic powder or 2-3 garlic cloves minced
- ¼ teaspoon freshly ground black pepper
- 1-2 tablespoons vegetable oil to coat them
Instructions
- Preheat the oven to 400F.
- Prepare the potatoes: Brush and clean your potatoes. If you are using organic ones, you don't need to peel them. Cut larger potatoes into small bite-sized pieces; if you're using small, new potatoes, keep them whole.
- Season: Lay the potatoes in a single layer on a baking tray. Toss them with oil, salt, pepper, thyme, and garlic powder, ensuring they are well-coated.
- Optional: For easy cleanup, you might choose to line your baking tray with parchment paper. It prevents the potatoes from sticking to the tray, ensuring each piece comes out perfectly.
- Roast: Place the tray in your preheated oven and let them bake at 400F for a total of 30 minutes. When you reach the 22-23 minute mark (which is roughly 75% of the cooking time), pull the tray out and give each potato a careful flip to encourage an even crispy finish on all sides. Check on them at the 30-minute mark. If they haven't achieved that golden crispiness you desire, feel free to keep them in for another 5-10 minutes, checking regularly to avoid burning.
- Serve: Once they have achieved a beautiful golden brown color and reached your desired level of crispiness, remove them from the oven and serve warm. They make an excellent companion to breakfast dishes like eggs and bacon or can be served alongside your favorite meat and a refreshing salad for lunch or dinner.



Comments
No Comments